In the world of cybersecurity and ethical hacking, Kali Linux has become a powerful, versatile, and essential tool. Whether you’re an aspiring ethical hacker, a penetration tester, or a privacy-conscious user, installing Kali Linux gives you access to a suite of tools built to probe, secure, and analyze digital systems.
Installing Kali is simple if you’re familiar with Linux, but new users might find it daunting. This tutorial guides you step-by-step—from downloading the ISO to logging in for the first time. No shortcuts, no fluff—just a straightforward way to set up Kali Linux securely.

Why Choose Kali Linux?
Kali Linux is not a general-purpose operating system. Built and maintained by Offensive Security, it’s tailored specifically for penetration testing, digital forensics, and network monitoring. Here’s why it’s a top choice:
- Comes pre-installed with 600+ security tools
- Regularly updated and maintained
- Supports both GUI and command-line interfaces
- Free and open-source
- Active and knowledgeable global community
From Wireshark to Metasploit, the tools included with Kali make it perfect for serious cybersecurity experts.
System Requirements
Before you begin, verify that your hardware or virtual environment meets Kali’s requirements:
| Component | Minimum Requirement |
|---|---|
| CPU | 2-core (64-bit recommended) |
| RAM | 2 GB minimum, 4 GB+ recommended |
| Storage | 20 GB minimum (more for full toolset) |
| Display | 1024×768 minimum resolution |
| Internet | Required for updates and some tools |
If you’re using virtualization software (e.g., VMware, VirtualBox), ensure hardware virtualization is enabled in BIOS/UEFI.
Download Kali Linux ISO
Head over to the official Kali Linux website to download the latest stable release.
Kali offers several editions:
- Installer ISO: For full OS installation on hard disk
- Live ISO: For temporary use without installation
- Virtual Images: Preconfigured for VMware and VirtualBox
- Net Installer: Minimal install with packages downloaded online
Tip: Always verify the SHA256 checksum of your download to ensure file integrity.
Create a Bootable USB Drive
If you’re installing Kali on bare metal (a physical machine), you’ll need to create a bootable USB:
On Windows:
- Use Rufus:
- Plug in a USB drive (at least 8 GB)
- Select the Kali ISO file
- Choose “MBR” for BIOS or “GPT” for UEFI
- Click Start
On Linux/macOS:
- Use the
ddcommand (Linux/macOS):
sudo dd if=kali-linux-*.iso of=/dev/sdX bs=4M status=progress
Replace /dev/sdX with the correct USB device path. Use lsblk or diskutil to identify it.
Boot Into Kali Linux Installer
- Insert the bootable USB and restart the computer.
- Enter BIOS/UEFI and set USB as the primary boot device.
- On boot, select Graphical Install (recommended) or Install for a text-based process.
This will launch the installation wizard.
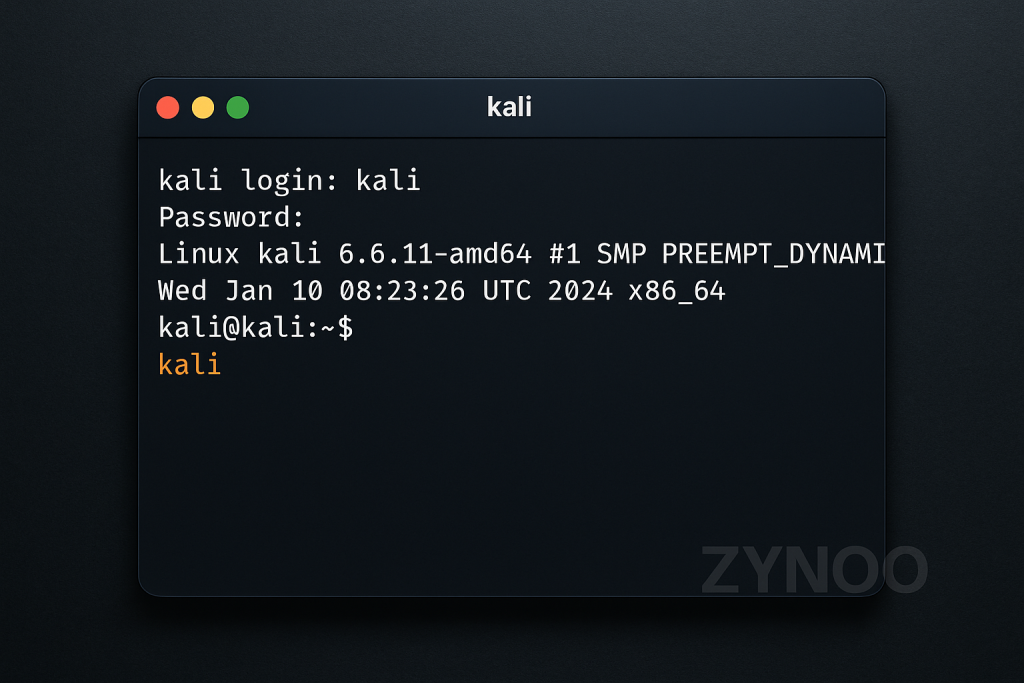
“Kali Linux terminal interface after successful installation — ready for secure, ethical testing.”
Choose Language, Region, and Keyboard
- Select your language—this will set the default locale.
- Choose your country, which will configure timezone and mirrors.
- Pick your keyboard layout—typically US, UK, etc.
Click Continue after each step.
Configure Network
- Set your hostname (e.g., kali-test, kali-vm)
- Optionally, add a domain name
- Ensure your network is detected via DHCP or configure manually (IP, Gateway, DNS)
If using Wi-Fi, you’ll be prompted to select a network and enter credentials.
Create User Account and Password
Kali now uses a non-root user model by default:
- Enter your full name
- Choose a username
- Set a strong password (at least 12 characters with a mix of types)
Avoid reusing passwords—especially if you’ll be accessing this machine remotely.
Partition the Disk
Kali offers multiple partitioning options:
| Option | Description |
|---|---|
| Guided – Use entire disk | Simplest, erases everything |
| Guided – Use LVM | Flexible resizing later |
| Guided – Encrypted LVM | Adds full disk encryption |
| Manual | Advanced users (dual-boot setups) |
Select the disk to install on, and confirm changes. Kali will format partitions and begin installation.
Install the Base System
Kali will now:
- Format the disk
- Copy system files
- Install the kernel
- Set up user accounts
This step takes 10–15 minutes depending on your system speed.
Select Desktop Environment and Tools
You’ll be prompted to choose:
- Desktop Environment: Default is Xfce, but GNOME and KDE are also available
- Tools to Install:
- Default: Common penetration testing tools
- Large: Full toolset
- Minimal: Bare OS
Unless you’re very constrained on resources, the default set is sufficient to begin.
Install GRUB Bootloader
- Select Yes when asked to install GRUB
- Choose the correct disk (typically
/dev/sda) for GRUB installation - This ensures Kali boots correctly after the setup is complete
Finish Installation and Reboot
Once everything’s installed:
- Remove the USB drive when prompted
- Click Continue
- Kali will reboot into the new OS
You’ll see the login screen—enter your username and password to access the desktop.
First Boot: Post-Install Setup
Once logged in, perform the following:
Update the System
sudo apt update && sudo apt upgrade -y
Install Additional Tools
Use the kali-linux-top10 meta-package for essential tools:
sudo apt install kali-linux-top10
Enable Firewall
sudo ufw enable
sudo ufw allow ssh
Secure Remote Access (Optional)
If using SSH:
- Disable root login
- Use SSH keys instead of passwords
- Change default port (optional)
Tips for Smooth Kali Linux Use
- Backup Configs and Logs: Keep a copy of
.bashrc, SSH keys, and important configs - Use Snapshots if Virtualized: Helps if you break the system during tool testing
- Stay Legal: Only use Kali for testing systems you own or have permission to test
- Explore Tools Slowly: Learn what each tool does before using it on a network
- Use Encrypted Storage: Especially if storing sensitive results or data
If you’re using Kali Linux to simulate or defend against network-level attacks, it’s worth reviewing modern DDoS threats. Read our guide on DDoS Protection and Prevention Strategies to learn how to reduce real-world risks to your servers and applications.
Troubleshooting Common Installation Issues
| Issue | Solution |
|---|---|
| Installer freezes | Try “Install” (text mode) instead of Graphical Install |
| Network not detected | Use wired connection or load drivers manually |
| Grub not installed | Use Rescue Mode or Live USB to repair bootloader |
| Disk not found | Check if controller is set to AHCI, not RAID |
| Login issues | Confirm correct username (not “root” unless configured) |
Conclusion
Installing Kali Linux might seem complex at first, but once you break it down into steps—preparation, ISO setup, booting, partitioning, and securing—it becomes a methodical and rewarding process. Whether you’re running it on a local machine or in a virtualized lab, Kali’s real power lies in its tools—and your responsibility to use them wisely.
Take your time to understand its capabilities. And remember: with great power comes great responsibility.