Introduction
Minecraft isn’t just a game — it’s a global sandbox where players create, build, and survive together. While you can play on public servers, nothing beats the freedom of hosting your own Minecraft server.
Setting up your own Minecraft server gives you full control over the world, mods, plugins, and who can join. Whether you’re creating a private realm with friends or a large community server, hosting allows you to shape the experience exactly how you want.
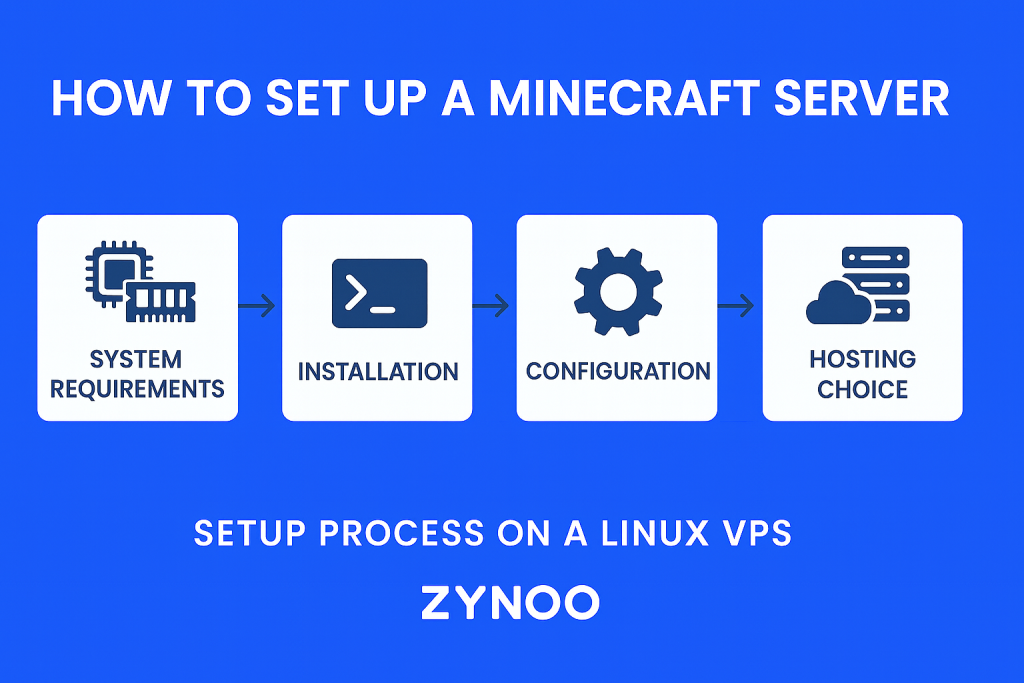
This guide explains how to set up a Minecraft server on Linux, including system requirements, installation steps, and configuration. It also covers hosting options such as VPS vs. bare metal servers, helping you choose the best solution for your needs.
System Requirements for a Minecraft Server
Before you begin, ensure your server has enough resources. Requirements depend on the number of players and mods.
| Players | CPU | RAM | Storage | Network |
|---|---|---|---|---|
| 1–10 (small group) | 2 cores | 2–4 GB | 20 GB SSD | 100 Mbps |
| 10–50 (medium server) | 4 cores | 8 GB | 50 GB SSD | 1 Gbps |
| 50+ (large server/modded) | 8+ cores | 16+ GB | 100 GB SSD+ | 1 Gbps dedicated |
Pro tip: Minecraft servers are Resource-Intensive, especially when using mods and plugins. Plan generously.
OS Recommendation: Ubuntu 22.04 LTS (stable, supported, widely used).
Preparing Your Server
- Update your system:
sudo apt update && sudo apt upgrade -y
- Install Java (Minecraft requires Java Runtime Environment):
sudo apt install openjdk-17-jdk -y
- Verify installation:
java -version
Minecraft works best with Java 17 for current releases.
Downloading the Minecraft Server Files
- Navigate to your home directory:
cd ~
- Create a Minecraft folder:
mkdir minecraft && cd minecraft
- Download the latest Minecraft server
.jarfile (from Mojang):
wget https://launcher.mojang.com/v1/objects/server.jar -O server.jar
(Replace URL with the latest official release link from Minecraft.net)
Running the Minecraft Server
- Start the server for the first time:
java -Xmx1024M -Xms1024M -jar server.jar nogui
- You’ll see an error asking you to accept the EULA. Open the
eula.txtfile:
nano eula.txt
Change:
eula=false
to
eula=true
- Save and exit (
CTRL+X, thenY). - Run the server again:
java -Xmx2G -Xms2G -jar server.jar nogui
(Adjust 2G to the amount of RAM you want to allocate.)
Configuring the Minecraft Server
Edit the server.properties file to customize your server:
nano server.properties
Key settings:
motd→ Message shown to players.max-players→ Limit based on your resources.online-mode→ true/false (true = only players with official accounts).pvp→ Enable/disable player vs player combat.
Opening Firewall Ports
Minecraft uses port 25565 by default. Open it to allow connections:
sudo ufw allow 25565
sudo ufw reload
Running Minecraft Server in the Background
To keep your server running after you close SSH, use screen:
sudo apt install screen -y
screen -S minecraft
java -Xmx2G -Xms2G -jar server.jar nogui
Detach with CTRL+A then D. Reattach with:
screen -r minecraft
Adding Mods and Plugins
- For Vanilla → Just run as above.
- For Plugins → Install Spigot or Paper builds.
- For Mods → Use Forge or Fabric loaders.
Each requires downloading and replacing the server.jar with the correct build.
Hosting Options for Your Minecraft Server
When deciding where to host your Minecraft world, you have two main choices:
- VPS Hosting: Affordable, scalable, great for small to medium communities. Learn more in our guide: What is VPS Hosting.
- Bare Metal Servers (Dedicated): High performance, complete hardware control, best for large public servers. See: What is a Bare Metal Server?
For most new players, start with a VPS. As your community grows, upgrade to a bare metal server.
Managing and Securing Your Minecraft Server
To keep your server stable and safe:
- Update regularly → Both OS and server files.
- Use strong passwords & firewall → Block unauthorized access.
- Backups → Automate daily backups of world data.
- DDoS protection → Essential for public servers.
Linking to Other Game Hosting Guides
If you’re exploring more than Minecraft:
- Check our full guide on Game Server Hosting.
- Learn how to set up an MMORPG World of Warcraft server.
Conclusion
Hosting your own Minecraft server gives you freedom and flexibility to shape your world. Whether you’re building with a few friends or managing a bustling online community, the setup is straightforward with the right tools.
Start small with a VPS, configure your world, and as your player base grows, upgrade to bare metal for maximum performance.
With the steps in this guide, you now know exactly how to set up a Minecraft server and run it smoothly.
FAQs
Yes, you can host it yourself if you already have a server, but hosting costs (VPS or bare metal) will apply.
At least 2 GB for a small group, and 8 GB or more for larger or modded servers.
Yes, using Forge, Fabric, or Paper builds.