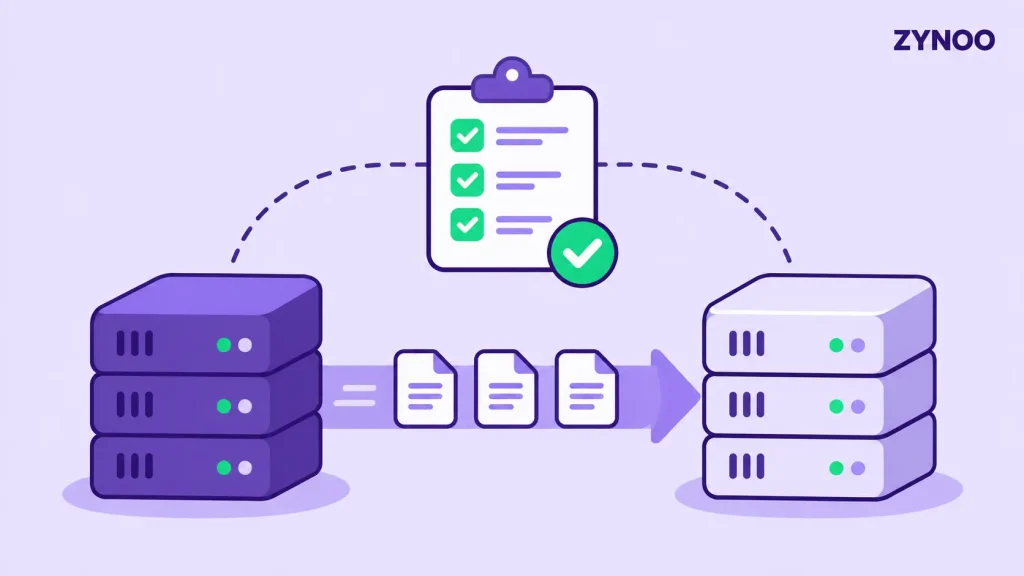
Moving to a new server requires careful planning to avoid downtime, data loss, and configuration issues. This Server Migration Checklist covers nine essential steps to help you migrate websites, applications, and databases safely.
Whether you’re switching hosting providers or upgrading your infrastructure, following these steps will make the transition easier.
Key Takeaways
- Back up all files, databases, and configurations before starting.
- Test the destination server before switching live traffic.
- Plan DNS changes, final data synchronization, and rollback procedures to minimize disruption.
Dedicated Server Migration Checklist
1. Review Your Current Server
Start by documenting everything running on your existing server:
- Operating system and software versions
- Websites, applications, and databases
- CPU, RAM, disk space, and bandwidth requirements
- SSL certificates, email services, and scheduled tasks
- IP-dependent services and firewall settings
This inventory helps you avoid missing essential components during migration.
2. Choose Your New Server
Select a destination server that meets your performance and storage requirements. Check hardware specifications, operating system compatibility, network connectivity, and available resources.
Explore ZYNOO Dedicated Servers for available configurations.
3. Create Complete Backups
Before transferring anything, back up:
- Website files and application data
- MySQL, PostgreSQL, or other databases
- Server configurations and SSL certificates
- Email data and important credentials
Store backups separately from the original server and verify that they can be restored.
4. Prepare the Destination Server
Install the required operating system, web server, database engine, and application dependencies.
Apply security updates, configure SSH access, set firewall rules, and confirm that software versions are compatible with your applications.
5. Prepare DNS Changes
Lower the TTL of relevant DNS records before migration to help reduce the transition period.
For example, a TTL of 300 seconds may be suitable when supported by your DNS provider. Make this change early enough for previously cached records to expire.
Read our guide on how DNS works for more information.
6. Transfer Files and Databases
Copy your website files, application directories, and database backups to the destination server.
Tools such as rsync can synchronize Linux server files, while database-specific export, import, or replication methods can transfer database content.
Check file permissions, ownership, and configuration paths after transferring.
7. Test Everything Before Switching
Verify that the destination server functions correctly before changing public DNS.
Check:
- Website pages and HTTPS certificates
- Database connections
- Login forms and user accounts
- Email functionality and API integrations
- Scheduled tasks and background services
Resolve errors before proceeding.
8. Synchronize Data and Switch Traffic
Schedule a final synchronization to capture changes made after the initial transfer.
For database-driven applications, temporarily pause writes or use a suitable replication strategy to prevent data inconsistencies.
Once the destination is ready, update DNS records or your load balancer to direct traffic to the new server.
9. Monitor and Keep a Rollback Option
After migration, monitor CPU, memory, disk usage, application logs, and response times.
Keep your original server available until the new environment is stable. If critical problems appear, follow your rollback plan while accounting for any data written after the switch.
Decommission the old server only after completing your final checks.
Final Thoughts
A successful migration depends on preparation, verified backups, thorough testing, and a controlled cutover.
Use this Dedicated Server Migration Checklist whenever you move to new infrastructure to reduce unnecessary risks and keep your applications running reliably.