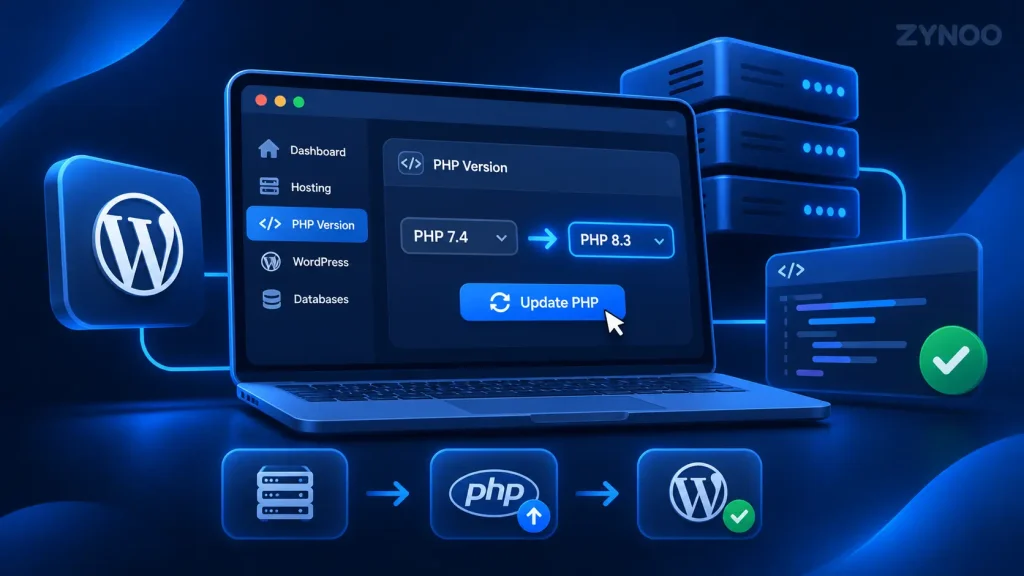
Here’s how to update PHP in WordPress safely: check your current PHP version, back up your website, select a compatible version through your hosting control panel, and test your site afterward.
WordPress recommends PHP 8.3 or newer, but your plugins and themes must also support the version you choose. The process is straightforward with cPanel, and you don’t need coding experience to complete it.
Key Takeaways
- PHP runs on your hosting server, so you cannot update it directly from the WordPress dashboard.
- WordPress recommends PHP 8.3 or newer for better security, performance, and compatibility.
- Always back up your website and check plugin compatibility before changing PHP versions.
- Most cPanel hosting accounts allow PHP updates through MultiPHP Manager or Select PHP Version.
- If an update causes errors, you can temporarily restore the previous PHP version while troubleshooting.
What Is PHP in WordPress?
PHP is a server-side programming language that powers WordPress. It processes requests, retrieves database information, and generates the dynamic content displayed on your website.
WordPress core, along with many themes and plugins, relies on PHP to function correctly.
Like other software, PHP receives regular updates that introduce improvements, fix bugs, and address security vulnerabilities.
Using a maintained PHP version provides three important benefits:
- Better security: Supported PHP releases receive security patches that help protect against known vulnerabilities.
- Improved performance: Newer PHP versions can process requests more efficiently, potentially improving website response times.
- Software compatibility: Modern WordPress releases, themes, and plugins increasingly depend on newer PHP features.
However, updating PHP alone won’t guarantee faster page loads, higher Google rankings, or complete protection from cyberattacks.
For additional protection, follow these WordPress security best practices.
How to Check Your Current PHP Version in WordPress
Before updating anything, identify which PHP version your website currently uses.
WordPress includes a built-in tool for checking server information.
- Log in to your WordPress admin dashboard.
- Navigate to Tools → Site Health.
- Select the Info tab.
- Expand the Server section.
- Find the field labeled PHP version.
You should see a version number such as PHP 8.2, 8.3, or 8.4.
The Site Health Status tab may also display a warning when your PHP version is outdated.
Make a note of your existing version. You’ll need this information if you encounter problems and must temporarily reverse the update.
Which PHP Version Should You Use for WordPress?
WordPress currently recommends PHP 8.3 or higher.
PHP 8.4 and PHP 8.5 are also available, although compatibility with your WordPress installation, themes, plugins, and hosting environment should be confirmed before upgrading.
PHP 8.2 remains under official security support until December 31, 2026, but it is below WordPress’s recommended version.
Avoid relying on PHP releases that have reached end of life. Unsupported versions no longer receive official security fixes from the PHP project.
For most websites, the best choice is a currently supported PHP version that has been tested with your existing WordPress software.
Before Updating PHP: 4 Essential Precautions
Changing PHP versions usually takes only a few clicks. Preparing your website beforehand is what makes the process safer.
1. Create a Complete Website Backup
Back up both your WordPress files and database.
Your backup should include themes, plugins, uploaded media, website settings, and database content.
You can use your hosting backup system or a WordPress backup plugin. Our guide to essential WordPress plugins includes a backup solution worth considering.
Make sure your backup is accessible and can be restored if necessary.
2. Update WordPress, Themes, and Plugins
Navigate to Dashboard → Updates in WordPress.
Install available updates for WordPress core, active plugins, and themes, provided the updates are compatible with your current environment.
Check that the website works correctly after these updates before changing PHP.
3. Check PHP Compatibility
Review the requirements published by your theme and plugin developers, particularly for important components such as WooCommerce, page builders, and custom integrations.
If a plugin does not support your intended PHP version, update or replace it before proceeding.
4. Test on a Staging Website
If your website handles online payments, customer accounts, or business-critical operations, test the PHP upgrade on a staging copy first.
This helps identify compatibility problems without interrupting your live website.
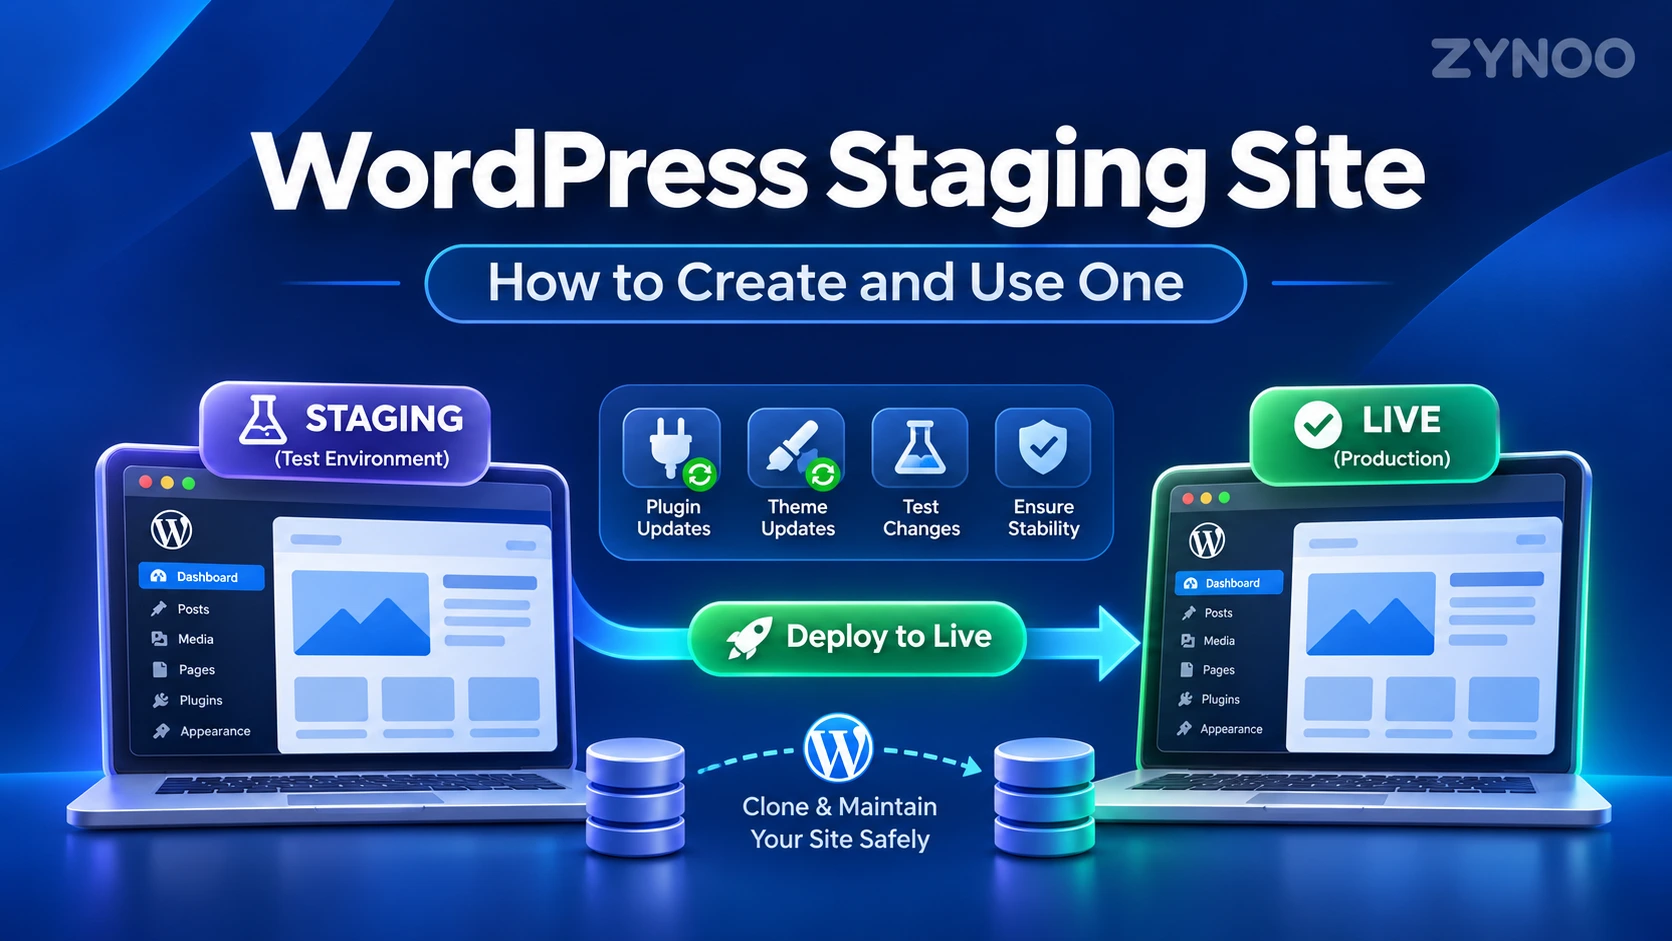
If you haven’t created a testing environment yet, our guide on how to create a WordPress staging site explains how to clone your website, test updates safely, and deploy changes without disrupting your live site.
Before you update PHP in WordPress, make sure your active theme and essential plugins support the new PHP version.
How to Update PHP in WordPress Using cPanel
cPanel provides one of the simplest methods for changing your website’s PHP version.
The following instructions use MultiPHP Manager, which is available on many cPanel hosting environments.
Step 1: Log In to cPanel
Sign in to your web hosting account and open cPanel.
You can usually access cPanel directly through your hosting provider’s customer portal.
Step 2: Open MultiPHP Manager
Scroll to the Software section.
Find and click MultiPHP Manager.
This tool displays the domains associated with your hosting account and their assigned PHP versions.
Step 3: Select Your Domain
Locate the domain running your WordPress website.
Check the box beside its name.
Confirm that you’ve selected the correct domain, especially if your hosting account contains multiple websites.
Step 4: Choose a New PHP Version
Find the PHP Version dropdown menu.
Select a supported version that meets WordPress requirements and is compatible with your plugins and themes.
For example, you might move from PHP 8.2 to PHP 8.3 or 8.4.
Only versions installed and made available by your hosting provider will appear.
Step 5: Apply the Changes
Click Apply to save your selection.
cPanel will assign the selected PHP version to your domain.
The change normally takes effect without requiring you to reinstall WordPress or modify its database.
Step 6: Verify the Update
Return to your WordPress dashboard.
Open Tools → Site Health → Info → Server and check the PHP version again.
Confirm that the displayed version matches your selection.
If it does, your PHP update has been applied successfully.
Alternative Method: Update PHP Using Select PHP Version
Some hosting providers, particularly those using CloudLinux, provide a different tool called Select PHP Version.
If your cPanel includes this option, follow these steps:
- Log in to cPanel.
- Under Software, click Select PHP Version.
- Locate the dropdown showing your current PHP version.
- Choose the PHP release you want to use.
- Save or apply the selection using the controls provided.
- Return to WordPress Site Health to verify the change.
Depending on your hosting configuration, PHP Selector settings may affect multiple domains within the same account.
Check which websites will be affected before applying the change.
You may also see options for PHP extensions and settings. Avoid modifying these unless your website requires a specific configuration.
What to Do After Updating PHP
After you update PHP in WordPress, test your website’s functionality to identify potential compatibility issues.
A successful PHP version change doesn’t automatically mean every website feature works correctly.
Perform these checks before considering the update complete:
- Homepage and internal pages: Confirm that your website loads normally.
- WordPress dashboard: Check that you can log in and edit content.
- Themes and plugins: Verify that important features work without errors.
- Forms and email: Test contact forms and other essential integrations.
- WooCommerce: If applicable, test product pages, the shopping cart, and checkout.
- Site Health: Review any new warnings or missing PHP extensions.
Clear your website’s cache if necessary and check the site again.
For business-critical websites, continue monitoring server error logs and important functionality after the update.
How to Fix WordPress Errors After Updating PHP
Occasionally, a PHP update causes an existing theme, plugin, or custom script to stop working.
Most problems can be investigated without reinstalling WordPress.
Website Shows a Blank Page or HTTP 500 Error
A blank page or internal server error may indicate that a plugin or theme contains code incompatible with the new PHP version.
First, return to your hosting control panel and temporarily restore your previous PHP version, if it remains available.
If the website starts working again, investigate outdated plugins, themes, and custom PHP code before retrying the upgrade.
You can also consult our guide to common WordPress errors and their solutions.
WordPress Reports Missing PHP Extensions
Some WordPress features and plugins require particular PHP extensions, such as mysqli, mbstring, curl, or intl.
If these are unavailable after changing versions, check your hosting panel’s PHP extension settings or contact your hosting provider.
Do not enable or disable extensions randomly.
Plugins Stop Working After the Update
Check whether affected plugins support your selected PHP version.
Install compatible updates where available.
If a plugin is abandoned or incompatible with maintained PHP releases, consider replacing it with an actively supported alternative.
Your Preferred PHP Version Is Missing
If the required PHP version does not appear in cPanel, it may not be installed or enabled for your hosting account.
Contact your hosting provider to ask which supported PHP versions are available.
If your hosting environment cannot meet current WordPress requirements, review the factors involved in choosing suitable WordPress hosting.
Important: Reverting to an outdated PHP version should only be a temporary troubleshooting measure, not a permanent solution.
Final Thoughts
Updating PHP is an essential part of maintaining a secure and reliable WordPress website.
The safest approach is simple: check your current version, create a complete backup, confirm compatibility, and change PHP through your hosting control panel.
Afterward, verify that your website and its important features work correctly.
Keeping PHP, WordPress core, themes, and plugins updated together helps maintain compatibility, reduce security risks, and support long-term website performance.